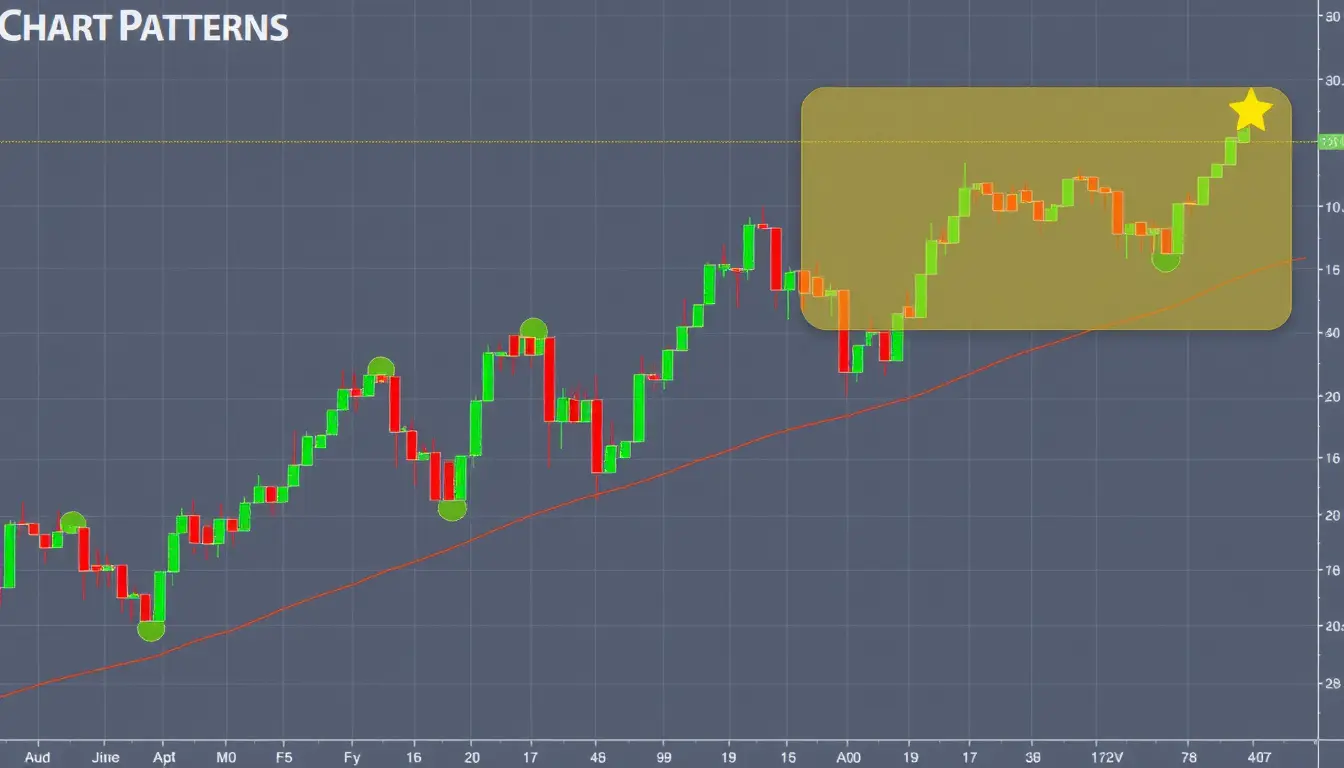
Price action trading is a popular approach among traders who prefer to analyze raw market movements rather than rely heavily on indicators. One of the most effective strategies in this method is the Supply and Demand Zones Strategy. This approach focuses on identifying key price levels where significant buying or selling pressure has historically led to market reversals. By recognizing these critical zones, traders can make more informed decisions—buying near demand zones where prices tend to rise and selling at supply zones where prices are likely to decline. This strategy not only enhances profit potential but also helps in managing risk effectively.
Understanding Supply and Demand Zones
What Are Supply and Demand Zones?
- Demand Zone: A price area where strong buying activity occurs, causing the price to move up sharply. This indicates a high demand for the asset.
- Supply Zone: A price area where strong selling activity takes place, pushing the price down significantly. This signifies an excess of supply.
When the price revisits these zones, traders expect a reaction, either bouncing off a demand zone or rejecting a supply zone. AI-powered trading tools, such as those provided by AI Signals, can help identify these zones more accurately.
Key Steps to Implement the Supply and Demand Trading Strategy
1. Identifying Supply and Demand Zones
Identifying Price Reversals
One of the simplest ways to spot supply and demand zones is by looking for areas where price reversals have occurred. A demand zone forms when prices rebound sharply after a decline, while a supply zone emerges when prices drop significantly after a rise.
The Role of Volume
Volume plays a crucial role in confirming these zones. Higher trading volume at a price reversal point often signals a stronger supply or demand zone, making it a key factor to consider in market analysis.
2. Determining Entry and Exit Points
Buying in High-Demand Areas
To stay ahead of the market and capitalize on price reversals before others jump in, consider placing buy orders slightly above the demand zone. However, don’t rely solely on the zone itself—look for strong confirmation signals such as increased trading volume or bullish candlestick patterns to support your decision.
Selling at Supply Zones
To maximize profits from price declines, position your sell orders just below the supply zone. Be cautious and look for key bearish signals, like resistance rejections or bearish engulfing patterns, to confirm the strength of the supply zone before executing your trade.
3. Risk Management in Supply and Demand Trading
Setting Stop-Loss Orders
When placing trades, always set a stop-loss order just above the supply zone (when selling) and just below the demand zone (when buying). This helps protect against unexpected price movements and minimizes potential losses if the market moves against your position.
Determining Position Size
Adjust your trade size based on market volatility and the strength of the zone you’ve identified. Stronger zones may allow for slightly larger positions, while weaker zones require a more cautious approach to risk management.
Additional Considerations for Successful Trading
1. Understand the Market Context
Before making any trades, take a step back and assess the broader market trend. Is the market currently in an uptrend (bullish), downtrend (bearish), or moving sideways within a range? Supply and demand zones are most effective when they align with the overall market sentiment, helping you make more informed and strategic trading decisions.
2. Enhance Accuracy with Confirmation Signals
Instead of blindly placing trades at supply or demand zones, wait for confirmation signals to improve accuracy. Some key signals to look for include:
- Candlestick Patterns – Keep an eye out for patterns like inside bars, engulfing candles, or pin bars, which indicate potential reversals or continuations.
- Technical Indicators – Tools like Bollinger Bands, Moving Averages, and the Relative Strength Index (RSI) can help confirm market trends and entry points.
- Volume Analysis – A rise in trading volume within a zone suggests stronger price movement, making the zone more reliable.
3. Validating Supply and Demand Zones
When a price revisits a supply or demand zone, its reaction helps determine the zone’s strength. If the price repeatedly shows a strong response at a particular level, it suggests that buyers or sellers are still actively influencing that area. This continued reaction indicates that the zone holds significance in market dynamics.
Example Trade Setup Using Supply and Demand Strategy
Scenario:
A stock that has been experiencing a sharp rise suddenly drops quickly with a significant increase in trading volume. This suggests that sellers have entered the market, potentially forming a supply zone.
Entry:
Traders can take advantage of an anticipated price drop by placing a sell order slightly below the supply zone, following a price retracement and retest of that area.
Stop-Loss Placement:
To minimize risk and protect against unexpected price breakouts, it’s important to set a stop-loss just above the supply zone.
Profit Target:
A smart approach for exiting a trade includes setting a take-profit level near the next demand zone or using a trailing stop. This way, you can secure profits while allowing the trade room to continue if the price keeps moving in your favor.
Advanced Techniques for Supply and Demand Trading
Merging Trend Analysis with Supply and Demand
By combining trend analysis with supply and demand zones, traders can enhance their strategies. When trading in the direction of the prevailing trend, the chances of executing successful trades improve significantly.
Utilizing Fibonacci Retracement with Supply and Demand
The power of supply and demand zones can be further validated by incorporating Fibonacci retracement levels. For instance, a demand zone becomes a more attractive buying opportunity when it aligns with key Fibonacci levels, such as 38.2% or 61.8%.
Round Numbers and Psychological Levels
Supply and demand zones often align with psychological price levels, such as 100, 500, or 1000 in stock prices. These levels are significant because they tend to act as strong support or resistance points. Traders should be attentive to these levels, as they can influence market movement and potential trade opportunities.
Market Sentiment and News Events
Economic news releases and earnings announcements can significantly impact supply and demand zones. For traders, staying informed about market sentiment during key news events is crucial. Using AI-driven tools like AI Signals to receive real-time alerts on potential trade setups during major news events can offer a valuable edge in making timely decisions.
Leveraging AI Signals for Price Action Trading
Manually identifying supply and demand zones is effective, but AI-driven trading tools, like those offered by AI Signals, can take accuracy to the next level. These tools:
- Automatically pinpoint high-probability supply and demand zones.
- Send real-time trade alerts based on price action analysis.
- Utilize machine learning to analyze historical price data for more accurate predictions.
- Offer flexible risk management strategies.
By integrating traditional price action methods with AI-powered insights, traders can significantly improve trade execution, risk management, and overall profitability.
Conclusion
For traders aiming to capitalize on natural price movements, using a price action trading strategy with supply and demand zones is an effective approach. By identifying key support and resistance areas tied to supply and demand, traders can boost their confidence in making profitable decisions, such as buying low and selling high. Integrating AI-powered tools like AI Signals, alongside sound risk management strategies and a thorough understanding of market conditions, can refine a trader’s strategy and enhance their earnings potential. Mastering supply and demand trading techniques can elevate your trading success across stock, forex, and cryptocurrency markets, no matter your experience level.
FAQ
1. What are the supply and demand zones in price action trading strategy?
These zones on the price chart highlight key areas where buying or selling pressure is strong. Supply zones are regions where sellers have the upper hand, while demand zones reflect areas where buyers are in control.
2. What is the best timeframe for supply and demand zones?
Supply and demand zones in trading are particularly beneficial for swing traders who focus on daily supply or demand levels. Most traders tend to prefer using the daily chart or the 4-hour time frame, as these time frames typically feature more robust and reliable demand and supply zones.
3. How do you trade supply and demand zones order blocks?
The Forex order block trading strategy involves identifying areas where large investors are likely to place their orders. A trade is triggered when the price moves beyond these key supply or demand zones.
4. How to trade with supply and demand zones?
A useful strategy for supply and demand trading is to focus on trading in the direction of the latest high or low on the chart. In other words, you should identify supply zones above the most recent high and demand zones below the most recent low, then base your trades on these levels.
5. What is the rule of supply demand?
The law of supply and demand is a fundamental economic principle that explains how prices are influenced by the availability of goods and the desire for them. When the supply of a product or service exceeds the demand, prices tend to decrease. On the other hand, when demand surpasses supply, prices generally increase.
6. What is the golden rule of supply and demand?
The law of demand suggests that when the price of a product, resource, or commodity increases, the demand for it decreases. Conversely, as prices decrease, demand tends to rise. On the supply side, the law indicates that producers are likely to provide more of a resource or product as its price goes up, while the supply decreases when the price drops.


